- cdg01@cdgfurniture.com
- MP & WeChat & WhatsApp: +86-13926103331 (Ms. Lisa Liang)
-
![]()
-
![]()


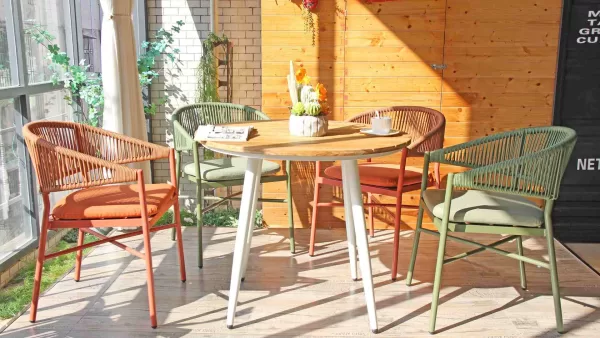
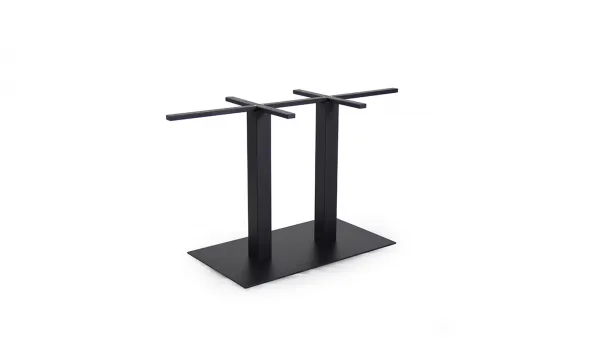
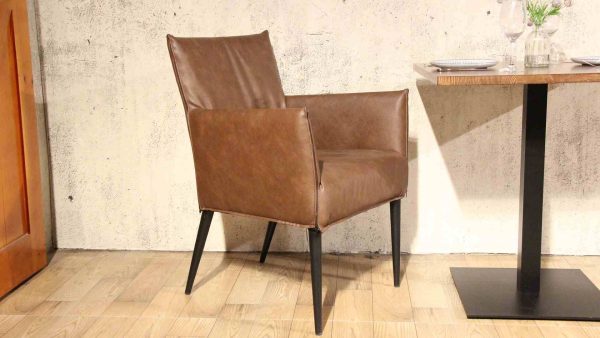
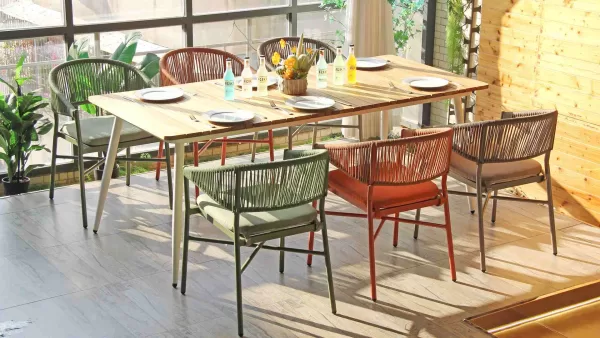
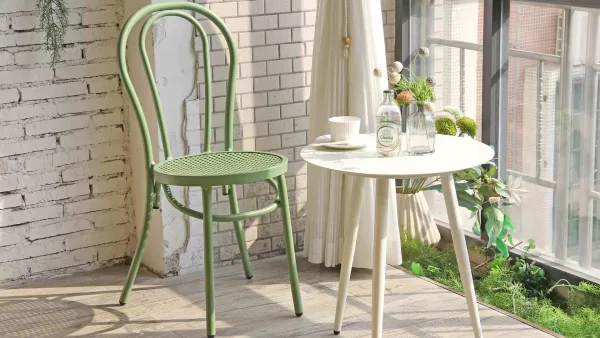
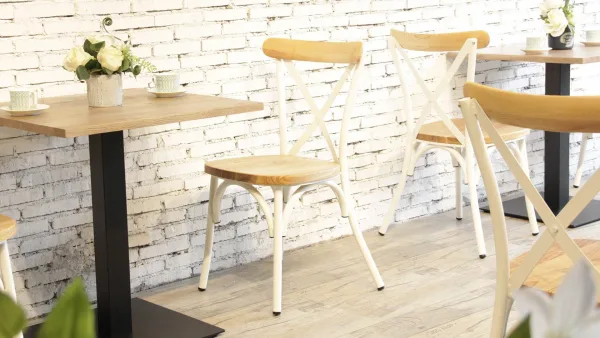
Related Products
LEAVE A MESSAGE
Contact CDG Furniture Manufacturer today to buy the perfect table and chairs, we can provide you with free designs and samples
The Art of Crafting Coffee Table Legs
When it comes to coffee tables, the legs play a vital role in both functionality and aesthetics. Whether you are a seasoned woodworker or a DIY enthusiast, crafting your own coffee table legs can add a unique touch to your furniture piece.
There are various materials and styles you can choose from when crafting coffee table legs. From sleek metal designs to rustic wooden legs, the options are endless. In this blog post, we will explore different techniques and ideas to help you create sturdy and stylish coffee table legs that will enhance the overall look of your living space.
Materials Needed
Before you start crafting your coffee table legs, gather the following materials:
- Wood or metal depending on your preferred style
- Measuring tape
- Saw
- Sandpaper
- Wood glue or welding equipment
- Finishing materials such as stain or paint
Design Ideas
There are countless design ideas for coffee table legs. You can opt for traditional straight legs for a classic look or experiment with tapered or hairpin legs for a modern twist. Remember to consider the overall style of your coffee table and room decor when choosing a leg design.
1. Straight Legs
Straight legs are a timeless choice for coffee tables. They provide stability and a clean, simple look that can complement various design themes.
2. Tapered Legs
Tapered legs are slightly wider at the top and narrow towards the bottom, creating an elegant and contemporary look. This style works well with mid-century modern or Scandinavian-inspired decor.
3. Hairpin Legs
Hairpin legs are a popular choice for industrial or minimalist coffee tables. Their sleek and minimalist design adds a touch of modern flair to any piece of furniture.
Step-by-Step Guide
Step 1: Measure and Cut
Start by measuring and cutting the wood or metal to your desired leg length. Use a saw to achieve precise cuts.
Step 2: Sand and Smooth
After cutting the legs, use sandpaper to smooth out any rough edges and surfaces. This will ensure a polished and professional look.
Step 3: Assemble
If you are using wood, apply wood glue to attach the legs to the coffee table. For metal legs, you may need welding equipment to secure them in place.
Step 4: Finish
Once the legs are attached, apply a coat of paint or stain to match the overall look of your coffee table. Allow it to dry completely before placing any items on the table.
Conclusion
Crafting your own coffee table legs is a rewarding DIY project that can elevate the style of your living space. Whether you prefer a classic, modern, or industrial look, there are endless possibilities to explore. Experiment with different materials and designs to create a coffee table that truly reflects your personal style.
RECENT POSTS
- A Comparative Guide to Rattan, Wicker, and Rope in Outdoor Furniture
- CDG Furniture Unveils Innovative Dining Spaces At The Furniture China
- Top Trends in Aluminum Garden Chair Designs for 2024
- The Advantages of Choosing Aluminum Garden Chairs for Your Outdoor Space
- How to Care for Your Aluminum Garden Chairs to Ensure Longevity
- Stylish Aluminum Garden Chairs- A Guide to Design and Functionality
- Mixing and Matching- Pairing Aluminum Garden Chairs with Other Outdoor Furniture
- Customizing Your Aluminum Garden Chairs- Colors, Cushions, and More
- Outdoor Entertaining- Setting Up a Stylish Patio with Aluminum Garden Chairs
- Lightweight and Durable- Why Aluminum is Perfect for Garden Furniture